Verifying and Testing the Correct Installation of SedphaT and SedFIT
a) create the folder c:\sedfit
c) conventions for file locations
a) create a temporary data sub-folder c:\sedfit\data
b) establish file associations
3) Testing the Communication between SedfiT and SedphaT
Note: The following screenshots are based on a Windows XP operating systems, and the details may be slightly different for other Windows versions.
IMPORTANT: The following screenshots and instructions assume that you have the Explorer window set up so that you can see the file extensions. If your system is not set up that way, you can easily change this by using the Tools Menu of the Explorer window: Select 'Folder Options', click on the 'View' tab, and uncheck the item 'Hide file extensions for known file type'. Then, in the same tab, go up to the the 'Folder views' section and push the button to set all your folders 'Like current folder'.
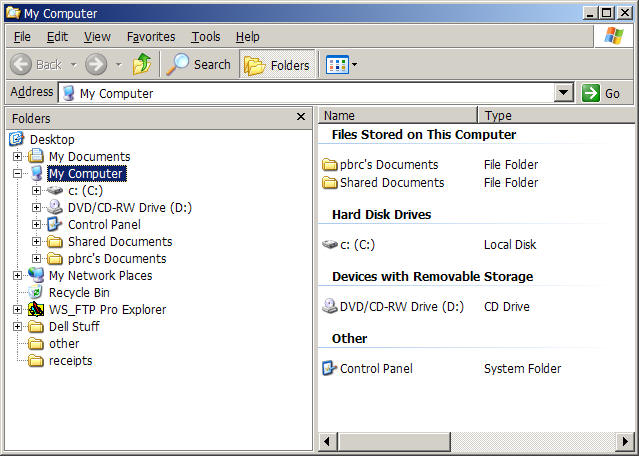
Open Windows Explorer:
Highlight the c: drive

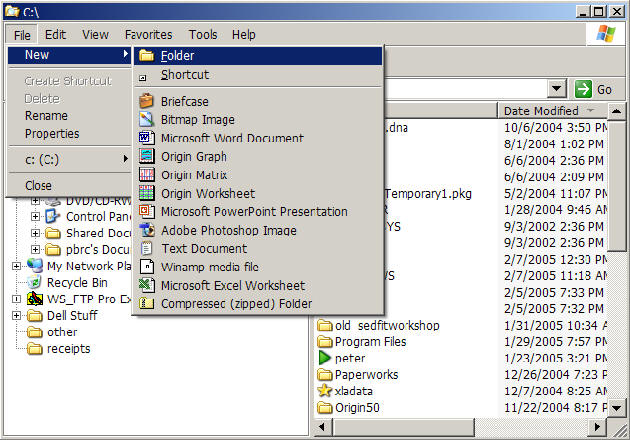
Use the menu function to create a new folder:
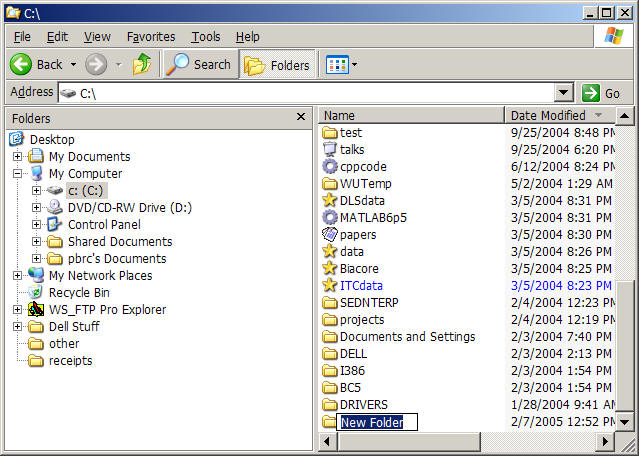
Type "sedfit" and press Enter
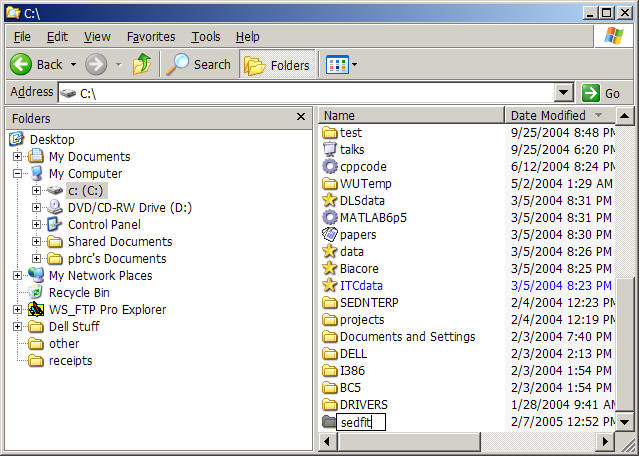
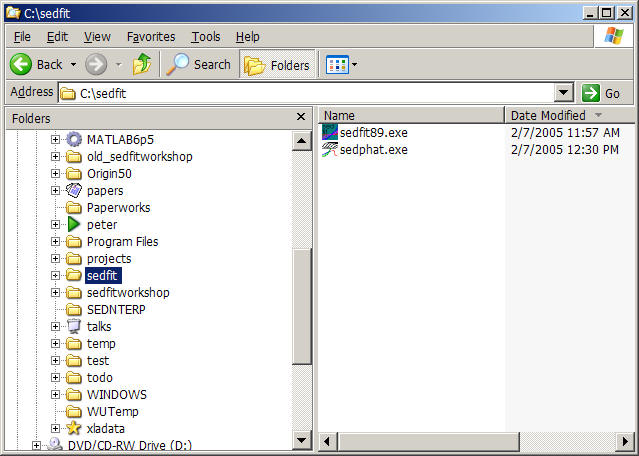
Double-click on the 'sedfit folder' - this is now empty.
Copy sedfit93.exe and sedphat.exe to this folder. (Either move these files from where you've already downloaded them, or download them directly into this folder.)
NOTE: the following screenshots were made with an earlier version of sedfit - sedfit89.exe Remember to use the most current sedfit version instead.
Note this is the directory where SedFIT and SedphaT will be saving automatically configuration and other files.
You can create desktop shortcuts: Right-click on sedfit89.exe and select 'Create Shortcut'
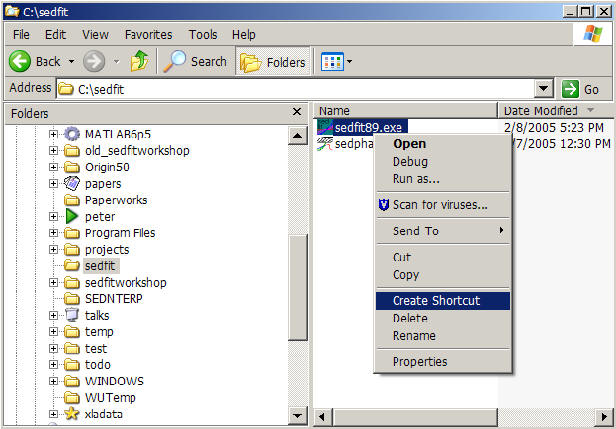
Note a new file will appear which is the shortcut. From the menu, use the 'Cut' command,

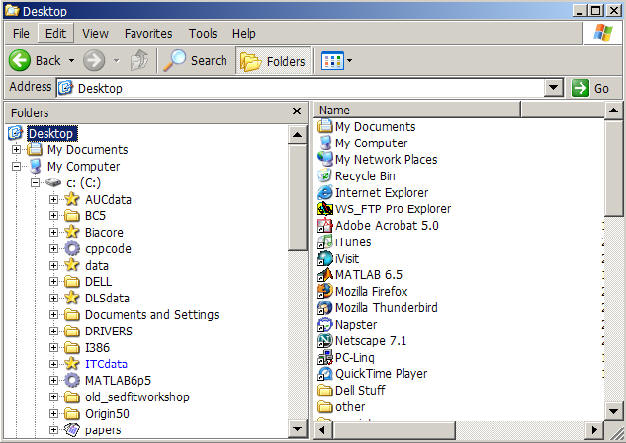
Select the desktop folder
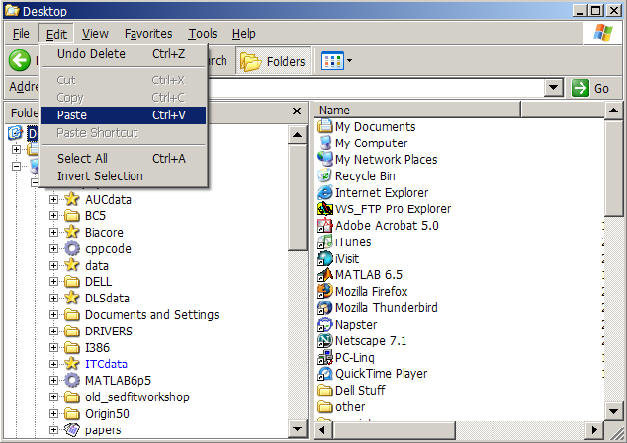
and from the menu select 'Paste'
Do the same thing to create a shortcut for sedphat.exe on your desktop.
c) Conventions for file locations: For raw data and any files created while using SedFIT and SedphaT, do not use filenames or folder names that have empty spaces. This includes the Desktop - which is really a shortcut to a subdirectory in "Documents and Settings" folder. For example, do NOT use "c:\xla data", but you CAN use "c:\xladata".
When loading data from a CD, make sure that the data are not flagged as 'Read-Only'. (Right-click the directory, click on 'properties' and inspect the file attributes)
2) Testing SedphaT
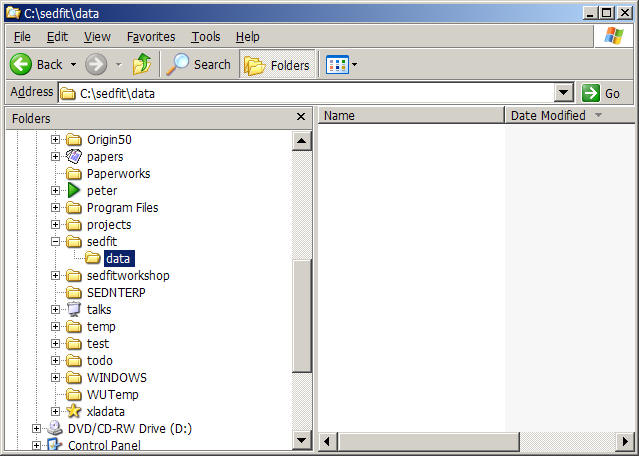
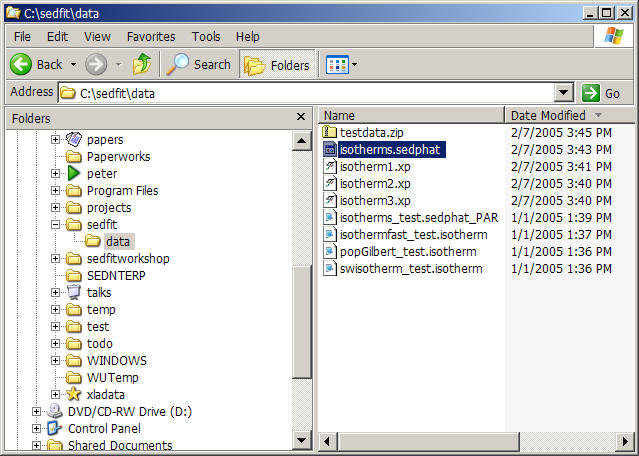
a) within the sedfit folder, create a subfolder "data":
download the following archive into this 'data' folder: testdata.zip
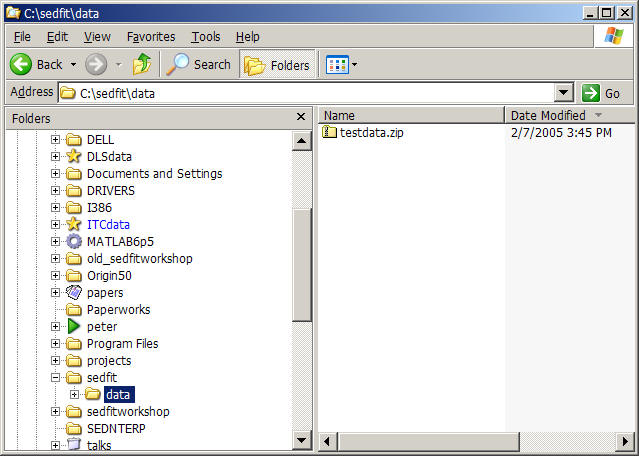
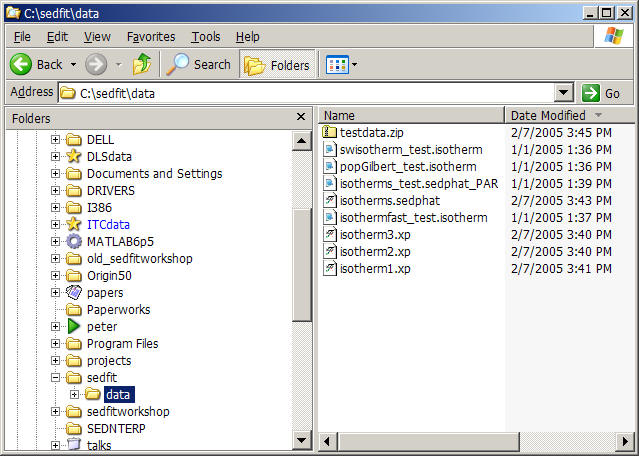
Unzip the data
b) establish file associations
The following are standard instructions for associating files. If this doesn't work, you may consult John Burgner's advanced guide to file associations.
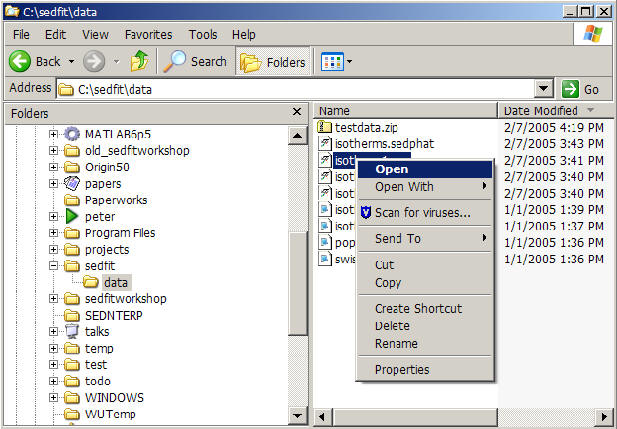
right-click on the file isotherm1.xp and select open
In Windows XP, a message box will appear
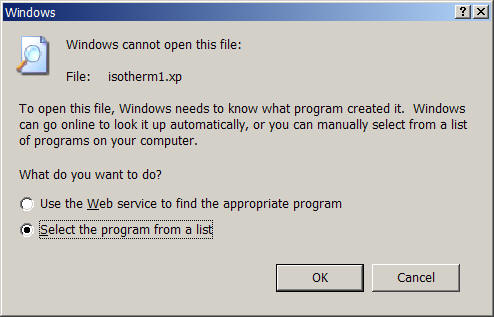
choose 'Select the program from a list' and then 'browse'
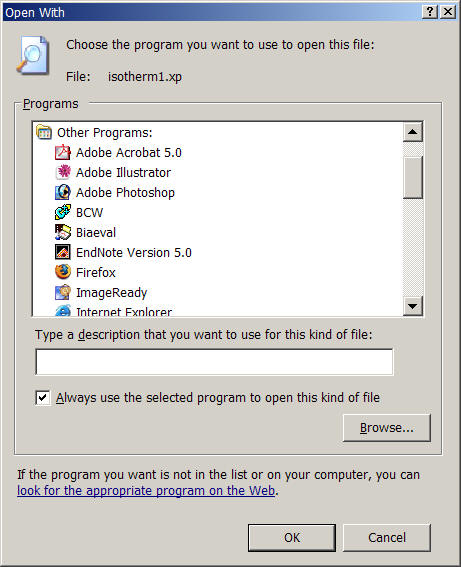
and navigate to the sedfit folder and choose sedphat.exe

Close this box and the previous one.
SedphaT will start and load the experiment (which is of the type isotherm).
Then, right-click on the file isotherm.sedphat and select open
Again, a message box will appear
choose 'Select the program from a list' and then 'browse'
and navigate to the sedfit folder and choose sedphat.exe
SedphaT will start and load the configuration (which consists of the set of three isotherms with the A + B <--> AB model).

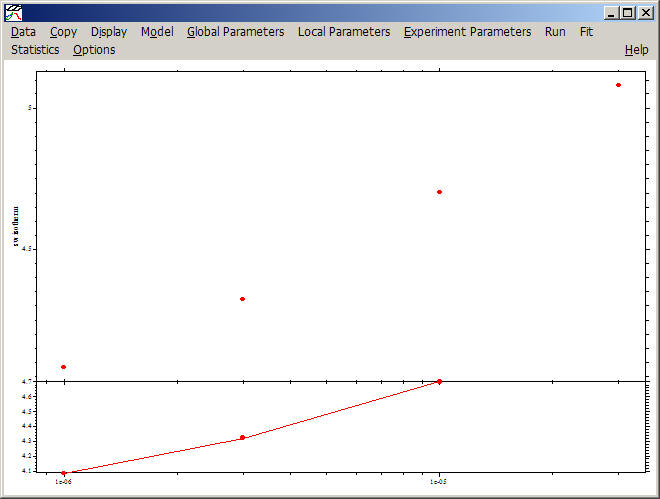
Use the "RUN" command, or press control-R to execute the model:
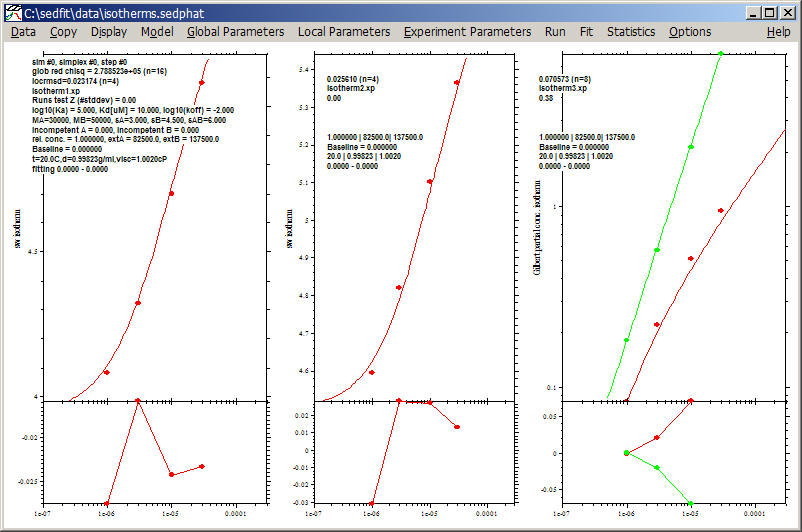
This verifies the correct operation of SedphaT: what you see is an isotherm of weight-average s-values (left), an isotherm of the fast s-value from the reaction boundary with Gilbert-Jenkins isotherm, and a population isotherm for the amplitudes of the undisturbed and reaction boundary.
3) Testing the communication between SedfiT and SedphaT
Download the test data set xf0011.zip into the folder c:\sedfit\data.
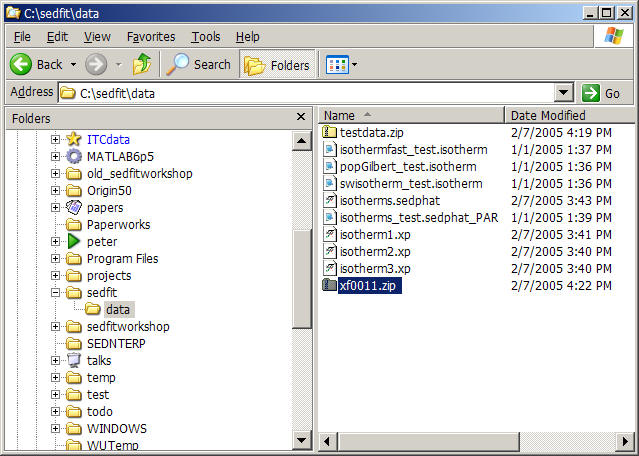
Unzip the archive, which contains a few sedimentation velocity profiles:
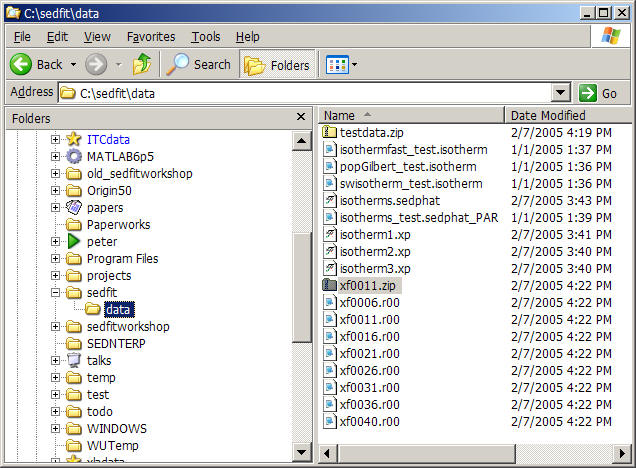
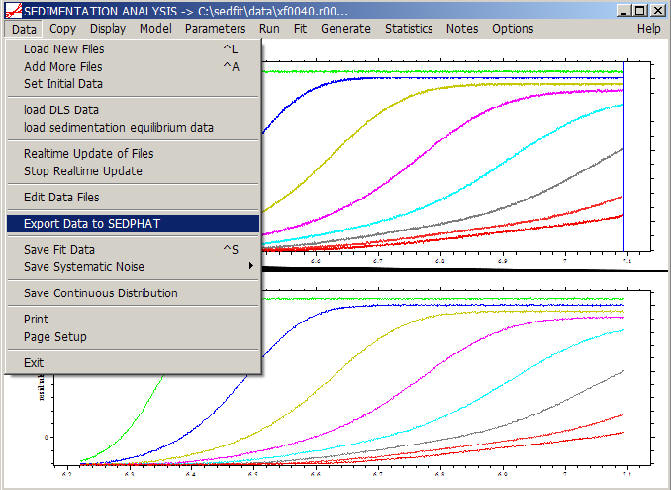
Start SedfiT (i.e. sedfit89.exe (double-click on c:\sedfit\sedfit89.exe or use your shortcut). Load all xf*.r00 files into SedfiT
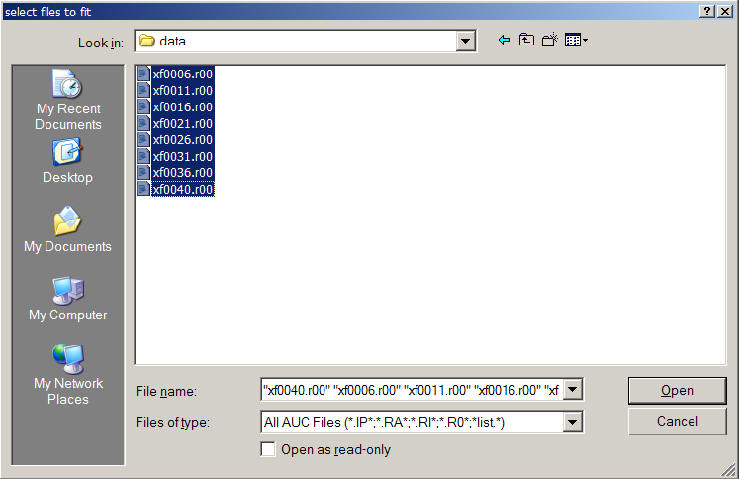
and select every file
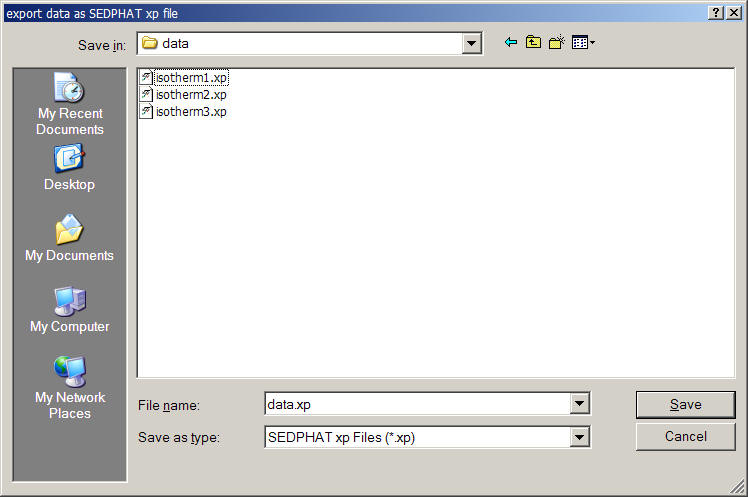
From the SedfiT menu, select 'Export Data to SedphaT'
A menu will prompt for a folder and filename for the xp-file to be generated. Select the folder 'c:\sedfit\data' (but any folder will work [see above for exception])
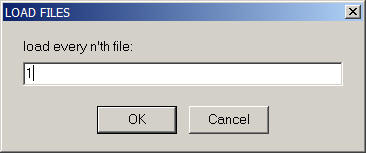
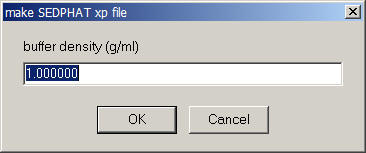
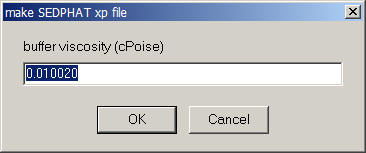
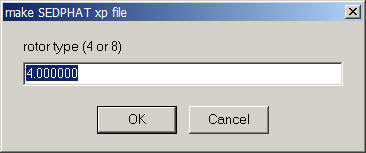
A series of parameter entry boxes will appear, for which you can accept the default:


and finally the question
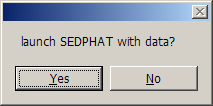
answer 'Yes' to test the connection. SedphaT will start, and dependent on the compatibility of SedfiT and SedphaT versions, a message box may appear
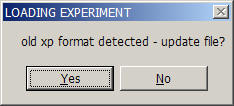
notifying of an extension of the xp-file to include more parameters - simply select 'Yes'.
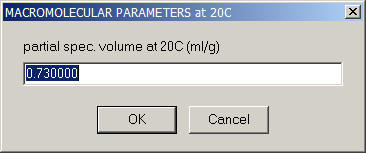
Finally, verify the global v-bar setting for SedphaT:
and the window will appear showing the data
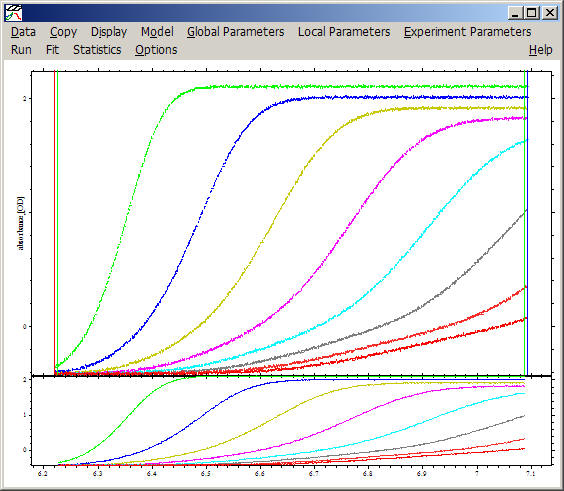
and confirming the correct connection and installation of all files. Note that the communication between SedfiT and SedphaT also includes details of the experiment type, meniscus, bottom, fitting limits, as well as models used for the analysis, in particular when the c(s) model was used. However, this is just a simple example to make sure communication can be established.
problems I have encountered before:
1) the folder names and the file locations are not as described above
2) the SedfiT and SedphaT versions are not up to date
3) if the data were not downloaded directly to your computer, but transferred via CDROM, it is possible that the file attributes are set to 'Read-Only'. This can create problems.
Let me know at pschuck@helix.nih.gov if you have other problems!